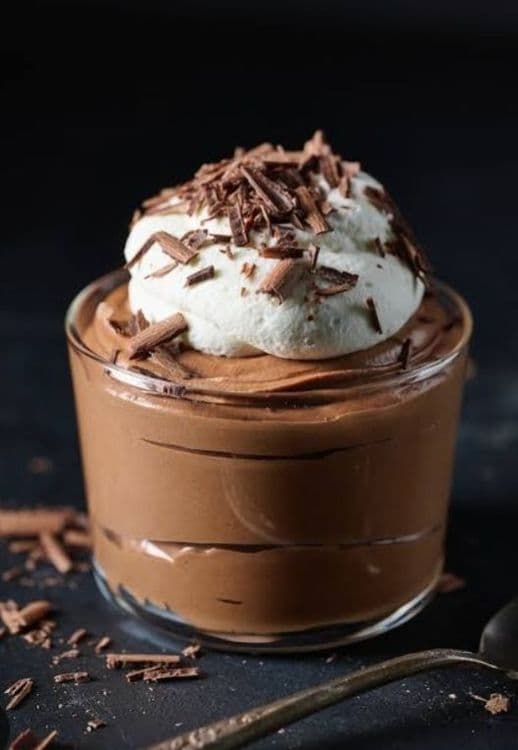
In essence, chocolate mousse is a dessert that combines simplicity and sophistication, offering an unforgettable sensory experience. It’s special not only because of its texture and flavor but also because it elevates any meal or celebration.
Chefadora AI has the answer - timers, swaps, step-by-step help.
Break the chocolate into small pieces and melt it. You can do this either in a heatproof bowl over simmering water (double boiler method) or in the microwave, heating in short intervals of 15-20 seconds and stirring between each.
Add vanila essence
In a chilled bowl, whip the heavy cream with the powdered sugar (if using) until it forms soft peaks. This should take about 2-3 minutes with an electric mixer.
Let the melted chocolate cool slightly (it should still be warm but not hot). Gently fold the melted chocolate into the whipped cream. Start by adding a little chocolate to lighten the cream, then fold in the rest until smooth and well combined.
Divide the mousse into two serving dishes. Refrigerate for at least 1-2 hours to allow it to set.
Use a Piping Bag (Optional):
If you want a more professional or decorative look, transfer the mousse into a piping bag (you can use a plastic sandwich bag and cut off the tip). Then, pipe the mousse into the serving dishes slowly and evenly. This method is especially helpful for filling small glasses or creating layered effects.
You can fill the dishes evenly, but leave a little space at the top if you want to add any garnishes or toppings later (like whipped cream, berries, or chocolate shavings).
Ensure the chocolate is of high quality to achieve the best flavor in your mousse.
The mousse can be made a day ahead and stored in the refrigerator, allowing the flavors to deepen.
For an extra decadent touch, you may add a splash of liqueur, such as Grand Marnier or Chambord, to the chocolate mixture before folding in the whipped cream.
How do I make chocolate mousse from scratch?
To make chocolate mousse from scratch, start by melting 100 g of dark chocolate using a double boiler or microwave. Then, whip 100 mL of heavy cream until soft peaks form, adding powdered sugar for sweetness if desired. Gently fold the melted chocolate into the whipped cream, divide into serving dishes, and refrigerate for 1-2 hours to set.
Is chocolate mousse suitable for a gluten-free diet?
Yes, chocolate mousse is naturally gluten-free as it primarily consists of chocolate and cream. Just ensure that the chocolate you use does not contain any gluten-containing additives or fillers.
What can I substitute for heavy cream in chocolate mousse?
If you're looking for a substitute for heavy cream in chocolate mousse, you can use coconut cream for a dairy-free option or silken tofu blended until smooth for a lower-fat alternative. Keep in mind that these substitutes may alter the flavor and texture slightly.
How should I store leftover chocolate mousse?
Leftover chocolate mousse should be stored in an airtight container in the refrigerator. It can last for up to 2-3 days. Just give it a gentle stir before serving again, as it may separate slightly.
What toppings pair well with chocolate mousse?
Chocolate mousse pairs beautifully with a variety of toppings. Consider adding whipped cream, fresh berries, chocolate shavings, or a sprinkle of sea salt for a delightful contrast. You can also serve it with a side of biscotti or shortbread cookies for added texture.
